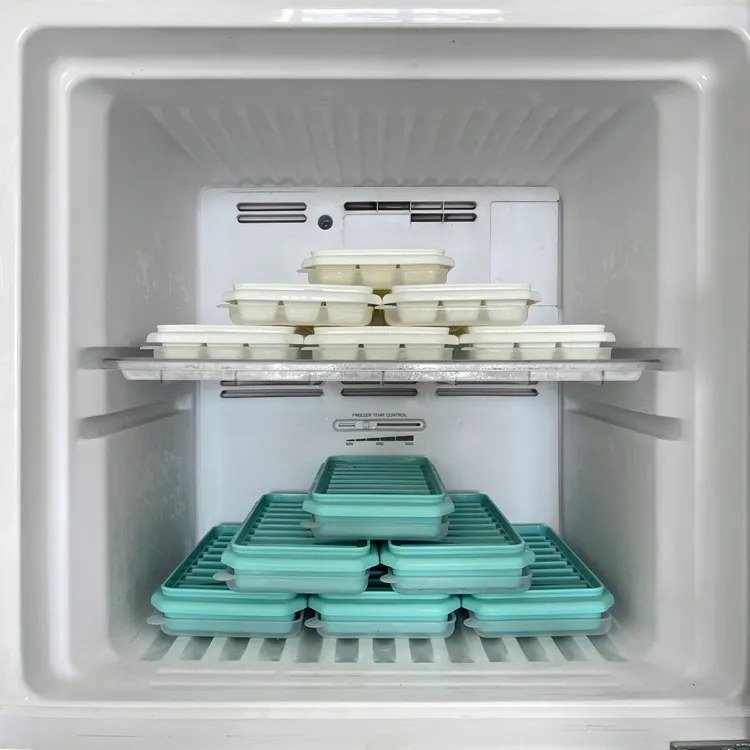
7 Holiday Helper Freezer Recipes: Sides You Can Make Weeks Ahead
This post may contain affiliate links. If you buy through them, I may earn a small commission at no extra cost to you.
What You’ll Need
- Gallon freezer bags — the workhorse of freezer cooking
Host the Holiday Without Spending It in the Kitchen
Thanksgiving and Christmas have a way of sneaking up. One minute you are making a grocery list in a calm, organized way, and the next it is the morning of the big meal, the oven is already full, every burner is taken, and three sides still need to be made from scratch while guests are arriving.
These 7 holiday helper freezer recipes change that story. Every side here — creamy mashed potatoes, classic stuffing, silky make-ahead gravy, sweet potato casserole, green bean casserole, cranberry sauce, and soft dinner rolls — can be made weeks ahead, frozen, and reheated with clear times for both thawed and from-frozen cooking. That means the hard work happens on a quiet weekend in early November, not in a panic on the holiday itself.
Imagine it: the turkey or ham is the only thing that really needs your attention on the day. The sides move from freezer to oven in a steady, planned order. You actually get to sit down with a coffee, talk to your family, and enjoy the meal you made.
This plan works beautifully alongside a regular freezer routine, too. If you are building that habit, see The 2-Hour Freezer Prep Session: 10 Dinners, One Shopping List for weeknight prep, and 10 Christmas Cookie Doughs to Freeze Now, Bake Fresh Later for dessert handled the same smart way.
Your Holiday Freezer Timeline
You do not have to make all 7 sides in one day. Spread them out like this:
3 weeks out (early November for Thanksgiving, early December for Christmas): Make the cranberry sauce and the gravy. Both freeze exceptionally well for weeks and actually taste better after the flavors settle. Make and freeze the dinner roll dough or baked rolls this week too.
2 weeks out: Make the stuffing and assemble (but do not bake) the sweet potato casserole and green bean casserole. Freeze them in the pans you plan to serve from, if you can spare them, or in foil pans.
1 week out: Make the mashed potatoes. They hold beautifully for a week in the freezer — and for months, really, so earlier is fine too — and reheating them in a slow cooker frees up your stove completely.
2 days before: Move everything except the rolls and cranberry sauce from the freezer to the fridge to thaw slowly and safely. Take the cranberry sauce out 1 day before.
The day before: Bake the rolls if you froze them as dough, or plan to refresh baked rolls tomorrow. Check that you have butter, extra broth, and cream on hand for finishing touches.
Holiday day: Reheat in waves. Mashed potatoes go in the slow cooker first, casseroles go in the oven alongside or just after the turkey comes out to rest, gravy reheats gently on the stove, and rolls warm at the very end.
Now, the recipes.
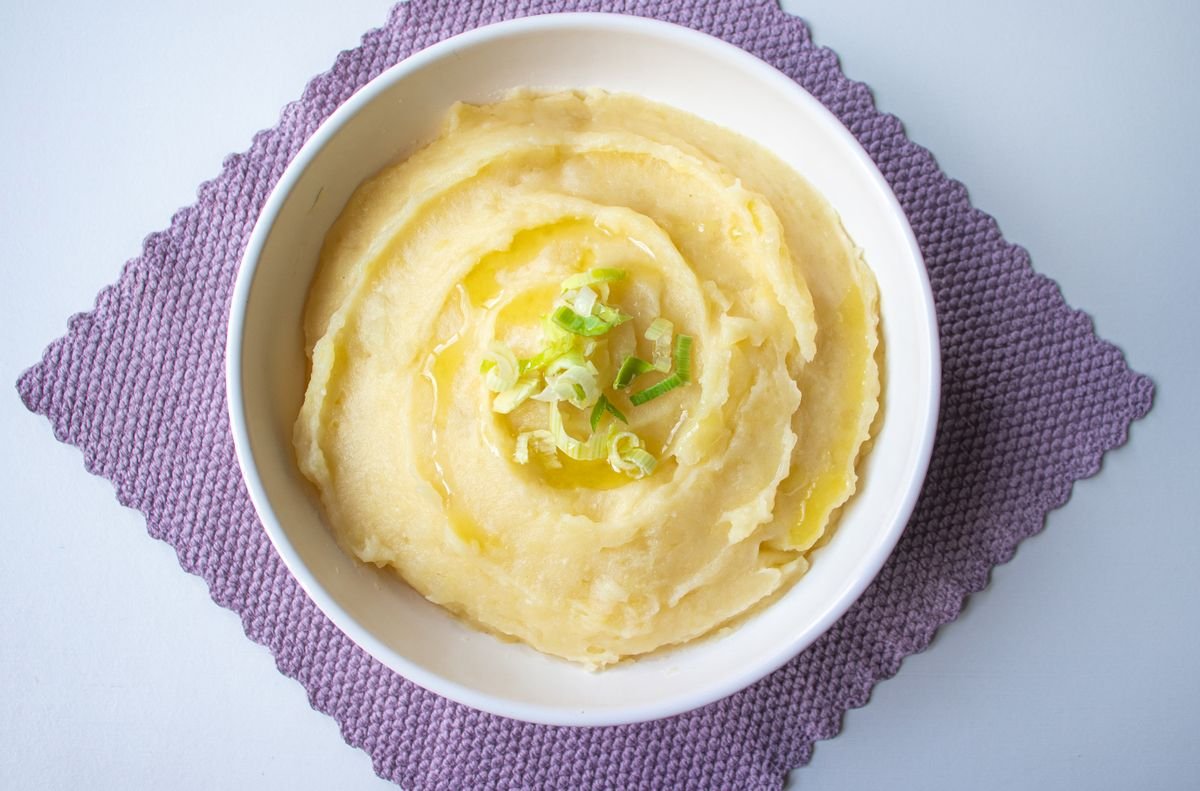
1. Make-Ahead Mashed Potatoes That Reheat Creamy
These are the mashed potatoes that prove make-ahead does not mean gluey. The secret is plenty of butter and cream cheese, which protect the texture through freezing and reheating.
Serves: 10–12
Ingredients:
- 5 lbs russet or Yukon Gold potatoes, peeled and cut into chunks
- 8 Tbsp (1 stick) unsalted butter, plus more for serving
- 8 oz cream cheese, softened
- 3/4 cup sour cream
- 1/2 cup whole milk or half-and-half, warmed
- 1 1/2 tsp salt, plus salt for the cooking water
- 1/2 tsp garlic powder (optional)
- 1/4 tsp black pepper
Make it ahead: Up to 4 weeks ahead for the freezer, or 3–4 days ahead in the fridge.
To freeze: Boil the potatoes in well-salted water for 15–18 minutes, until very tender. Drain well and return them to the hot pot for 1 minute to steam off extra moisture — this step keeps them from going watery later. Mash with the butter, cream cheese, sour cream, warm milk, salt, garlic powder, and pepper until smooth and creamy. Cool completely. Spoon into a labeled freezer-safe container or a foil pan, smooth the top, press a piece of parchment or plastic wrap directly on the surface, cover tightly, and freeze.
To cook: Thawed (thaw 24–36 hours in the fridge): transfer to a slow cooker on Low for 2–3 hours, stirring once or twice, or bake covered at 350°F for 30–35 minutes, until heated to 165°F and steaming. From frozen: bake covered at 350°F for 1 hour to 1 hour 15 minutes, stirring halfway if the pan allows, until hot throughout. Stir in a splash of warm milk and an extra knob of butter at the end to bring back the just-made texture.
Tip: Reheat these in the slow cooker on the holiday — it holds them hot for serving for up to an hour on Warm without drying out.
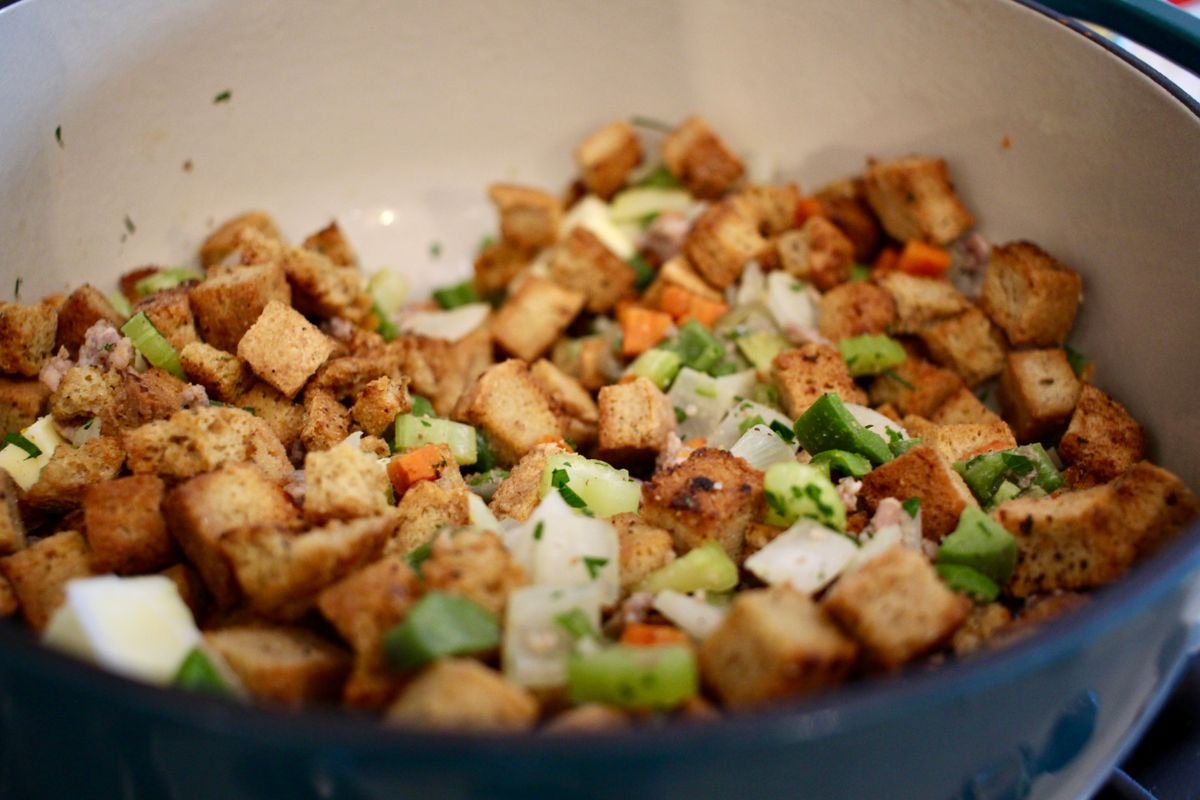
2. Classic Make-Ahead Stuffing / Dressing
Herby, buttery, and sturdy enough to freeze before baking. Freezing it unbaked is the key — it bakes up with crisp edges and a soft center, just like fresh.
Serves: 10–12
Ingredients:
- 12 cups dried bread cubes (about 1 large loaf, cut and dried overnight, or a 14 oz bag)
- 8 Tbsp (1 stick) unsalted butter
- 2 medium yellow onions, diced
- 3 celery stalks, diced
- 2 1/2 to 3 cups chicken or turkey broth
- 2 large eggs, lightly beaten
- 2 tsp poultry seasoning
- 1 tsp dried sage
- 1 tsp salt and 1/2 tsp black pepper
- 2 Tbsp fresh parsley, chopped (optional)
Make it ahead: Assemble and freeze unbaked up to 4 weeks ahead.
To freeze: Melt the butter in a large skillet and cook the onion and celery for 7–8 minutes, until soft. In a very large bowl, combine the bread cubes, cooked vegetables, poultry seasoning, sage, salt, pepper, and parsley. Stir the eggs into 2 1/2 cups broth and pour over the bread, tossing gently until evenly moist — add the extra broth if it looks dry; the mixture should feel damp, not soggy. Pack into a labeled, greased 9×13-inch foil pan, cover tightly with foil, and freeze unbaked.
To cook: Thawed (thaw 24 hours in the fridge): bake covered at 350°F for 30 minutes, uncover, and bake 20–25 minutes more, until the top is golden and the center reaches 165°F. From frozen: bake covered at 350°F for 50 minutes, uncover, and bake 25–30 minutes more, until golden and the center reaches 165°F. Let it rest 10 minutes before serving.
Tip: If your family likes sausage stuffing, brown 1 lb of breakfast sausage and fold it in before freezing — just cool it completely first.
3. Silky Make-Ahead Gravy
Yes, you can make gravy before you have a turkey. A good chicken-and-butter base, enriched on the day with hot pan drippings if you have them, gives you calm, lump-free gravy without the last-minute whisking panic.
Serves: About 8–10 (makes about 3 cups)
Ingredients:
- 6 Tbsp unsalted butter
- 1 small yellow onion, finely diced (optional, for depth)
- 1/2 cup all-purpose flour
- 4 cups chicken or turkey broth, warmed
- 1/2 tsp poultry seasoning
- 1/2 tsp salt, plus more to taste
- 1/4 tsp black pepper
- 1 tsp soy sauce or Worcestershire sauce (for color and depth, optional)
- Pan drippings from the roasted turkey or chicken, if available, on serving day
Make it ahead: Up to 6 weeks ahead — gravy is one of the best freezer performers on this whole list.
To freeze: Melt the butter and cook the onion for 4–5 minutes until soft. Whisk in the flour and cook, whisking constantly, for 2 minutes until lightly golden. Slowly whisk in the warm broth, a little at a time at first, to avoid lumps. Simmer for 5–7 minutes, until thick enough to coat a spoon. Stir in the seasonings and soy sauce. Cool completely. Pour into labeled freezer containers or sturdy freezer bags in 1- to 2-cup portions and freeze flat.
To cook: Thaw overnight in the fridge. Pour into a saucepan and warm gently over medium-low heat, whisking often, for 8–10 minutes, until smooth and steaming. From frozen: place the frozen gravy in a saucepan with 2 Tbsp water, cover, and melt on low for 12–15 minutes, whisking as it loosens, then simmer 2–3 minutes. On the day, whisk in a few spoonfuls of hot pan drippings and extra broth if it needs thinning, and adjust the salt.
Tip: Gravy can look separated as it thaws — do not worry. Steady whisking over gentle heat brings it back together completely.

4. Sweet Potato Casserole with Pecan Topping
Sweet, warmly spiced, and crowned with a crunchy brown-sugar pecan topping that you add at baking time so it stays crisp.
Serves: 10–12
Ingredients:
- 4 lbs sweet potatoes, peeled and cubed
- 1/2 cup granulated sugar
- 2 large eggs, lightly beaten
- 6 Tbsp unsalted butter, melted
- 1/2 cup whole milk
- 1 tsp vanilla extract
- 1 tsp ground cinnamon
- 1/2 tsp salt
- For the topping: 3/4 cup brown sugar, 1/3 cup all-purpose flour, 1 cup chopped pecans, 4 Tbsp cold butter, cubed
Make it ahead: Assemble the base up to 4 weeks ahead; mix the topping fresh or freeze it in a separate small bag.
To freeze: Boil the sweet potatoes for 15–18 minutes, until very tender; drain well. Mash with the sugar, eggs, melted butter, milk, vanilla, cinnamon, and salt until smooth. Spread into a labeled, greased 9×13-inch foil pan, cover tightly, and freeze. Mix the topping ingredients until crumbly and freeze in a separate labeled bag placed on top of the pan, so everything stays together.
To cook: Thawed (thaw 24–36 hours in the fridge): sprinkle the topping evenly over the casserole and bake uncovered at 350°F for 30–35 minutes, until hot in the center and the topping is golden. From frozen: bake covered at 350°F for 45 minutes, uncover, add the topping, and bake 25–30 minutes more, until bubbling and golden.
Tip: Add the topping only at baking time — freezing it already on the casserole makes it soggy instead of crunchy.
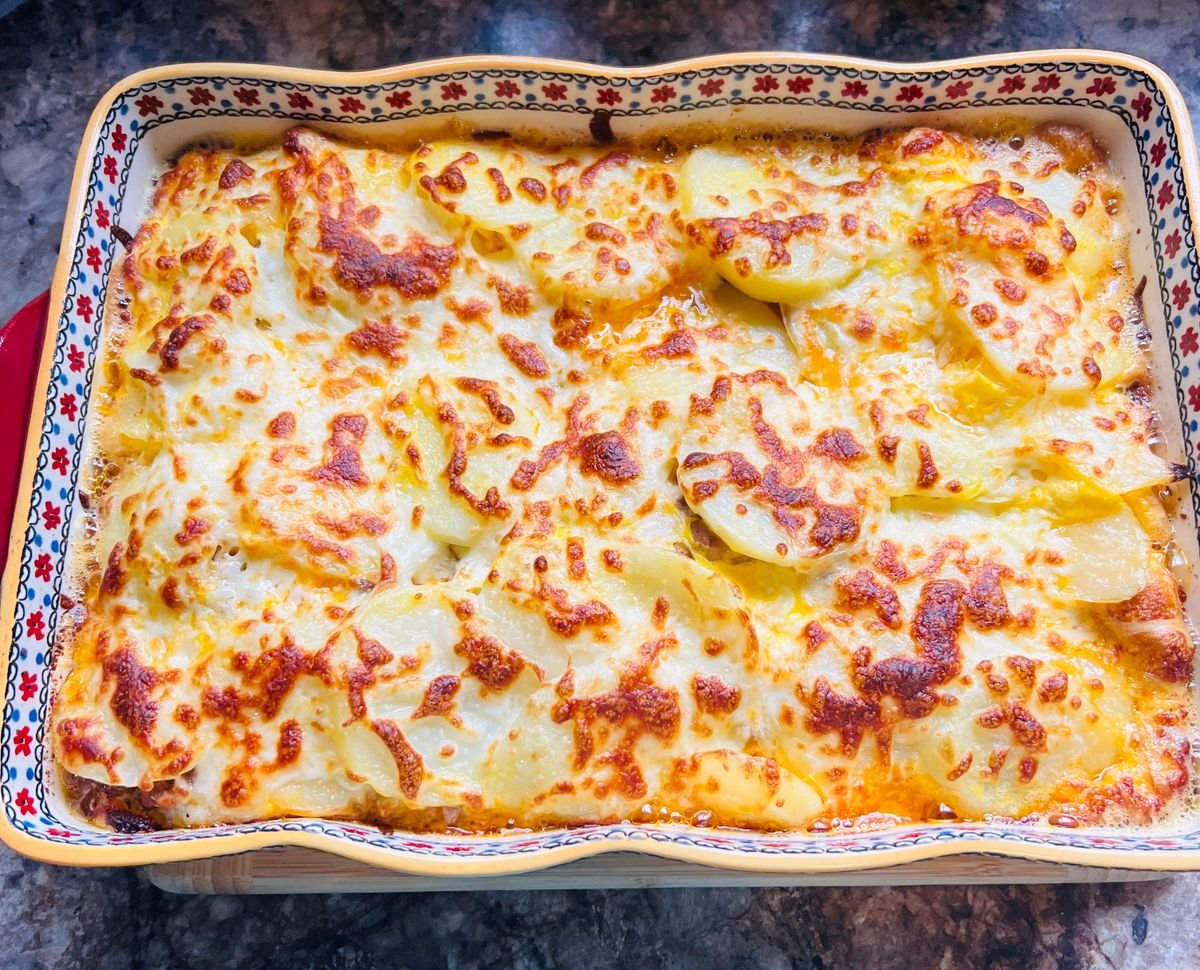
5. Green Bean Casserole (Topping Added Fresh)
The classic, handled the freezer-smart way: the green beans and creamy sauce freeze together, and the crispy onions go on at the end so they actually stay crispy.
Serves: 8–10
Ingredients:
- 2 lbs fresh green beans, trimmed and cut in half, or frozen cut green beans
- 8 Tbsp (1 stick) unsalted butter, divided
- 8 oz mushrooms, sliced (optional, but lovely)
- 2 cloves garlic, minced
- 1/4 cup all-purpose flour
- 1 1/2 cups chicken or vegetable broth
- 1 cup half-and-half
- 1 tsp salt and 1/2 tsp black pepper
- 1 1/2 cups crispy fried onions, for topping at serving
Make it ahead: Assemble the base up to 3–4 weeks ahead; keep the fried onions in the pantry.
To freeze: Blanch fresh green beans in boiling water for 3 minutes, drain, and cool in cold water; if using frozen beans, thaw and drain well. Cook the mushrooms in 2 Tbsp butter for 5 minutes, add the garlic for 30 seconds, and set aside. Melt the remaining butter, whisk in the flour for 1 minute, then whisk in the broth and half-and-half and simmer 4–5 minutes, until thick. Stir in the beans, mushrooms, salt, and pepper. Cool completely, spread into a labeled 9×13-inch foil pan, cover tightly, and freeze — without the fried onions.
To cook: Thawed (thaw 24 hours in the fridge): bake uncovered at 375°F for 25–30 minutes, until bubbling. Sprinkle the fried onions over the top and bake 5 minutes more. From frozen: bake covered at 375°F for 45 minutes, uncover and bake 15 minutes, then add the fried onions and bake a final 5 minutes, until the center is hot and bubbling.
Tip: Drain the beans really well before mixing — extra water is the number one reason a make-ahead green bean casserole turns soupy.

6. Bright Homemade Cranberry Sauce
Tart, jewel-red, and worlds better than the can — and it is the easiest make-ahead on the list. The flavor improves after a few days, so making it weeks early is a genuine upgrade.
Serves: 8–12 (makes about 2 1/2 cups)
Ingredients:
- 12 oz fresh or frozen cranberries (1 bag)
- 1 cup granulated sugar
- 1 cup water or orange juice
- 1 tsp orange zest
- 1/4 tsp ground cinnamon (optional)
- Pinch of salt
Make it ahead: Up to 6 weeks ahead in the freezer, or 10–14 days ahead in the fridge.
To freeze: Combine the cranberries, sugar, water or juice, zest, cinnamon, and salt in a saucepan. Bring to a boil over medium-high heat, then lower to a simmer and cook for 10–12 minutes, stirring occasionally, until most berries have burst and the sauce has thickened — it will thicken more as it cools. Cool completely, spoon into a labeled freezer container leaving 1/2 inch of headspace, and freeze.
To cook: This one only needs thawing, no cooking. Thaw in the fridge overnight, stir well, and serve chilled or at room temperature. If you froze it and need it faster, thaw the sealed container in a bowl of cold water for 2–3 hours. Taste before serving and add a spoonful of sugar or a splash of orange juice if your berries were especially tart.
Tip: Freeze half the batch in a small container for leftover turkey sandwiches — cranberry sauce and turkey on a roll is one of the best parts of the holiday.

7. Soft Dinner Rolls (Bake or Freeze the Dough)
Warm rolls make the whole table feel taken care of. You have two good freezer paths here: freeze the shaped dough and bake fresh on the day, or bake the rolls fully now and refresh them in minutes.
Serves: 12 rolls
Ingredients:
- 3 1/2 cups all-purpose flour, plus more for kneading
- 2 1/4 tsp instant yeast (1 packet)
- 1 cup warm whole milk (about 110°F)
- 4 Tbsp unsalted butter, melted, plus more for brushing
- 2 Tbsp granulated sugar
- 1 large egg
- 1 tsp salt
Make it ahead: Freeze shaped dough up to 4 weeks ahead, or freeze fully baked rolls up to 3 months ahead.
To freeze: Stir the yeast, warm milk, and sugar together and let sit 5 minutes. Mix in the flour, melted butter, egg, and salt, knead for 7–8 minutes until smooth and elastic, then let rise in a greased bowl for 1 hour, until doubled. Divide into 12 balls and place them in a greased 9×13-inch pan. For dough freezing: cover tightly and freeze right after shaping, before the second rise. For baked-roll freezing: let the rolls rise 30–40 minutes, bake at 375°F for 15–18 minutes until golden, cool completely, wrap the pan or place rolls in a labeled freezer bag, and freeze.
To cook: From frozen dough: thaw the covered pan in the fridge overnight, then let it sit at room temperature for 45–60 minutes, until puffy. Bake at 375°F for 15–18 minutes, until golden, and brush with melted butter. For frozen baked rolls: wrap in foil and warm at 350°F for 12–15 minutes from frozen, or 8–10 minutes if thawed first, until soft and hot.
Tip: Brush the tops with melted butter and a tiny pinch of flaky salt the moment they come out — it makes simple rolls taste bakery-made.

How to Store These Sides Safely
Holiday food deserves the same care as weeknight freezer meals, with a little extra planning for thawing:
- Cool completely before freezing. Let cooked sides cool, then refrigerate until cold before freezing. Warm food in the freezer softens everything around it.
- Label with name and date. Write the dish, the date frozen, and a short reheating note right on the foil or bag. On a busy holiday week, you will be grateful you did.
- Use within 2–3 months for best quality. Consistent with USDA guidance, most freezer meals and sides are best within 2–3 months. Kept continuously frozen at 0°F they remain safe longer, but texture is best in that window — which fits a holiday plan perfectly anyway.
- Thaw in the fridge, on purpose. Most of these pans need 24–36 hours in the fridge. Put them on a tray to catch drips and count backwards from the holiday when you move them.
- Reheat until steaming hot. Casseroles and potatoes should reach 165°F in the center. A simple food thermometer removes all the guesswork on a crowded cooking day.
If this make-ahead approach makes the season feel more manageable, you will love applying it to dessert too — see 10 Christmas Cookie Doughs to Freeze Now, Bake Fresh Later — and to January, with 10 Freezer Meals to Make in January When You’re Done With Takeout.
Frequently Asked Questions
How far in advance can you prepare Thanksgiving sides?
Many sides can be made a day or two ahead and refrigerated, while frozen sides hold up for weeks or even a month when frozen properly. On this list, most sides are best at 3–4 weeks, and the gravy and cranberry sauce are excellent at 6 weeks. Spread the work across early November for Thanksgiving or early December for Christmas.
What side dishes can you make ahead and freeze for Thanksgiving?
All seven here were chosen to freeze well: mashed potatoes, stuffing, gravy, sweet potato casserole, green bean casserole (without its crispy topping), cranberry sauce, and dinner rolls. Add crisp toppings — the fried onions and pecan topping — fresh at baking time so they stay crunchy. Thaw pans in the refrigerator 24–36 hours before reheating.
Can you freeze mashed potatoes?
Yes — mashed potatoes freeze beautifully when they are made with plenty of butter, cream cheese, or cream, because the fat protects the texture. Plain, low-fat mashed potatoes can turn grainy or watery. Reheat gently, then stir in a splash of warm milk and an extra knob of butter to bring back the just-made creaminess.
How do I reheat sides without drying them out?
Use gentle heat and a little extra liquid. Rewarm mashed potatoes in a slow cooker or over low heat with a splash of milk, cover casseroles with foil for most of their reheating time, and whisk gravy over medium-low heat — it may look separated as it thaws, but steady whisking brings it back together. Reheat everything until steaming hot and 165°F in the center.
Do I need to change the bake time for casseroles made ahead?
Yes. A casserole going into the oven cold from the fridge, or especially from frozen, needs extra time to heat through — each recipe above gives both thawed and from-frozen times. Check that the center is hot and reaches 165°F before serving, rather than relying on the clock alone.
How do I free up oven space on Thanksgiving?
Save the oven for the casseroles and stuffing that need to brown, and reheat everything else another way. Put the mashed potatoes in a slow cooker, warm the gravy on the stovetop, serve the cranberry sauce straight from the fridge, and warm the rolls last for just a few minutes. Baking the casseroles while the turkey rests also helps — almost everything here reheats well at 350°F, with only the green bean casserole preferring 375°F.
Enjoy the Holiday You Cooked
The best version of a holiday meal is one where the cook gets to enjoy it too. With these 7 sides waiting in the freezer, the big day becomes assembly and reheating instead of a marathon — and the food tastes just as homemade, because it is.
Pin it / save it for later before your planning weekend, and share it with the friend or sister who hosts every year and could use a calmer holiday too.